We had a self-made CO₂ sensor running in our living room for quite a while and it actually helps to determine when to open a window, especially in winter… The commercially available sensors are either super expensive or stand alone without a way to send a notification. So of course I made my own!
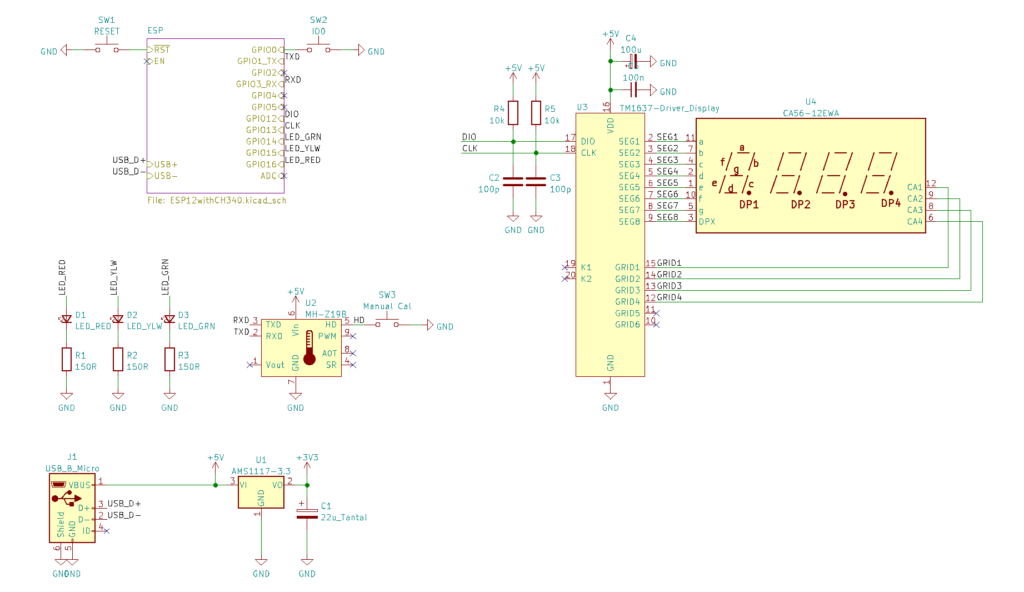
There are affordable sensors available that can be connected to a microcontroller, in my case an ESP8266, which makes it more versatile. The prototype that was running for over a year worked perfectly but didnt exactly look nice so I turned it into a proper device with everything on a single board – the ESP, the sensor, 3 LEDs as a “traffic light” to show the current air quality and a 4-digit display to show the current value.
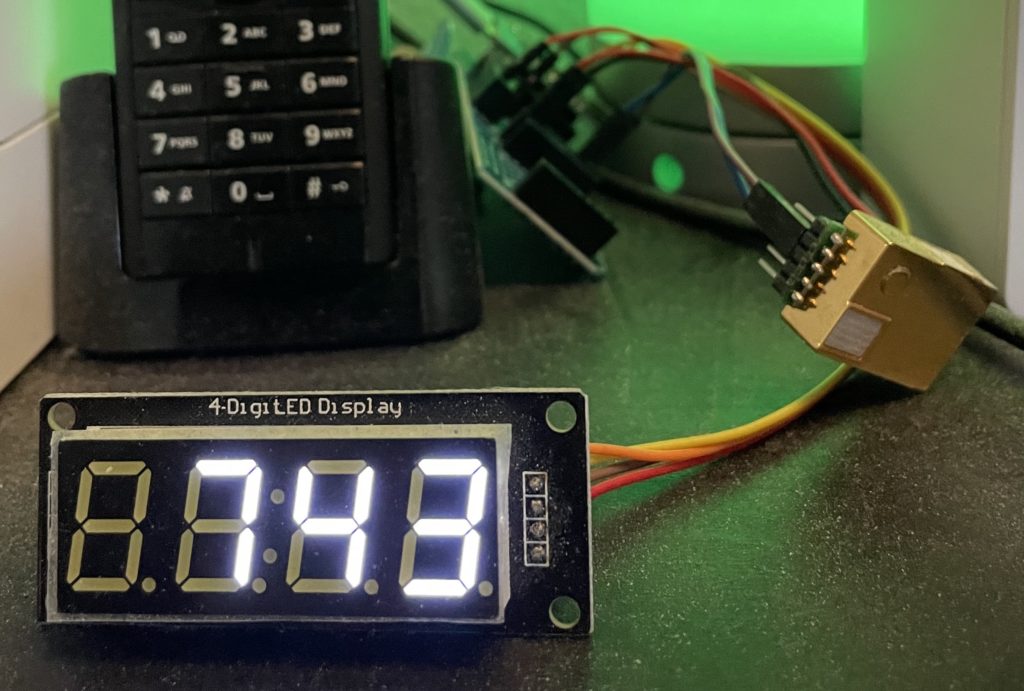
The sensor I use is the MH-Z19C by Winsen which is available for less than 25€. The display is a standard 4-digit 0.56″ 7-Segment display driven by a TM1637 which is cheap and widely supported by libraries for about any platform – you also get this configuration as a module like the one in the prototype pic at your favorite cheap electronics dealer…
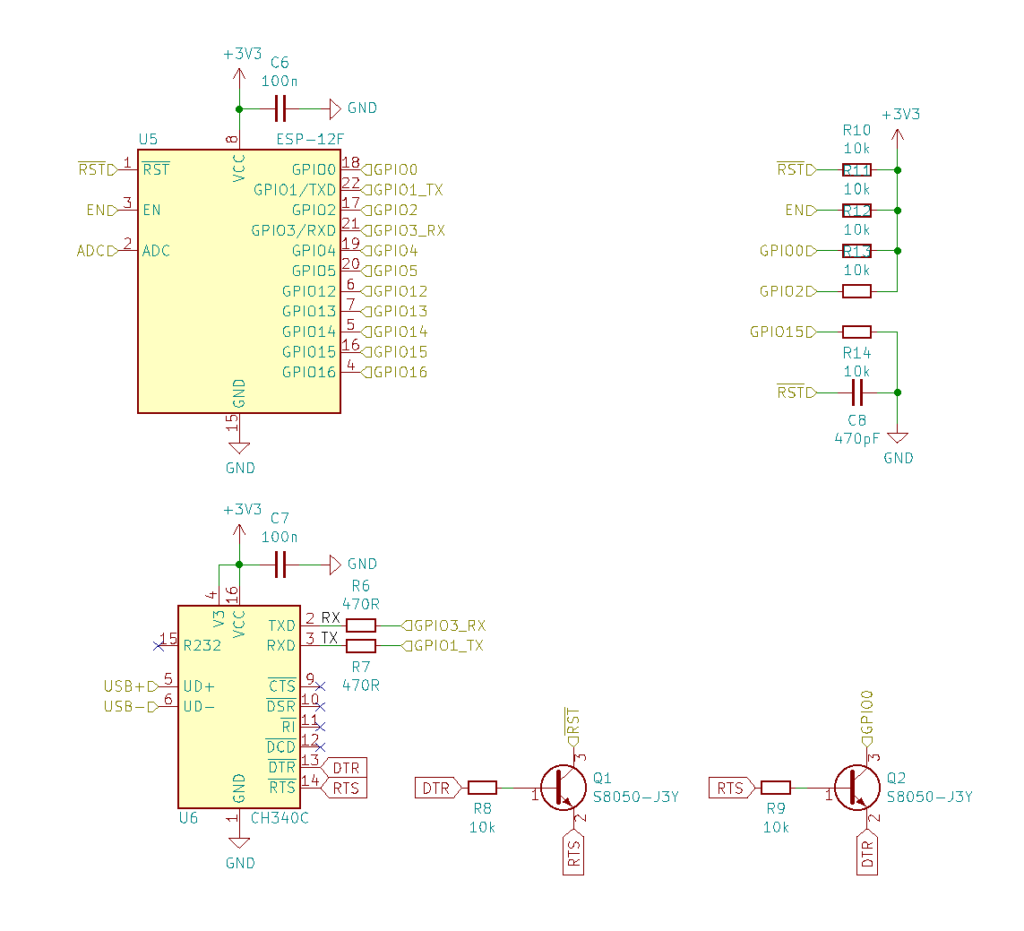
Everything is controlled by an ESP8266 on an ESP-12F module which is my go-to module for anything WiFi that doesnt need more I/O. Since we are using Home Assistant for a while now I chose to use ESPHome to create the software for the module. But it will also run with a custom version of Tasmota or any other platform that supports the parts used.
I also added a CH340C USB to Serial IC to make flashing the ESP easier but in hindsight that was not really necessary since ESPHome supports OTA by default after the initial install.
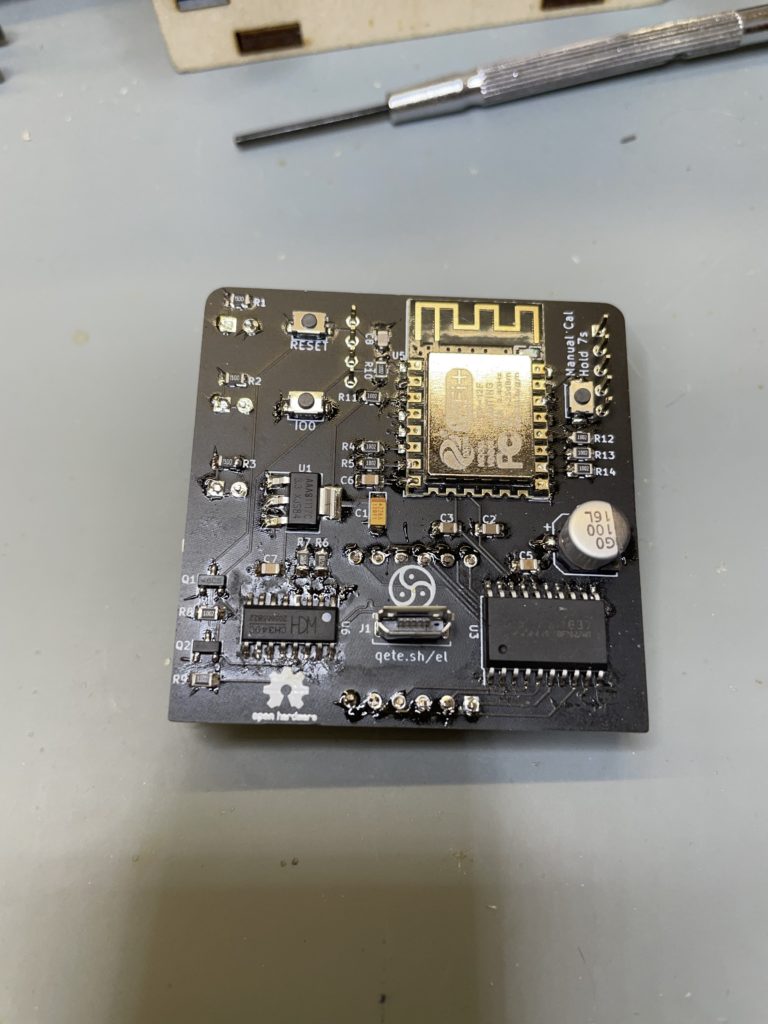
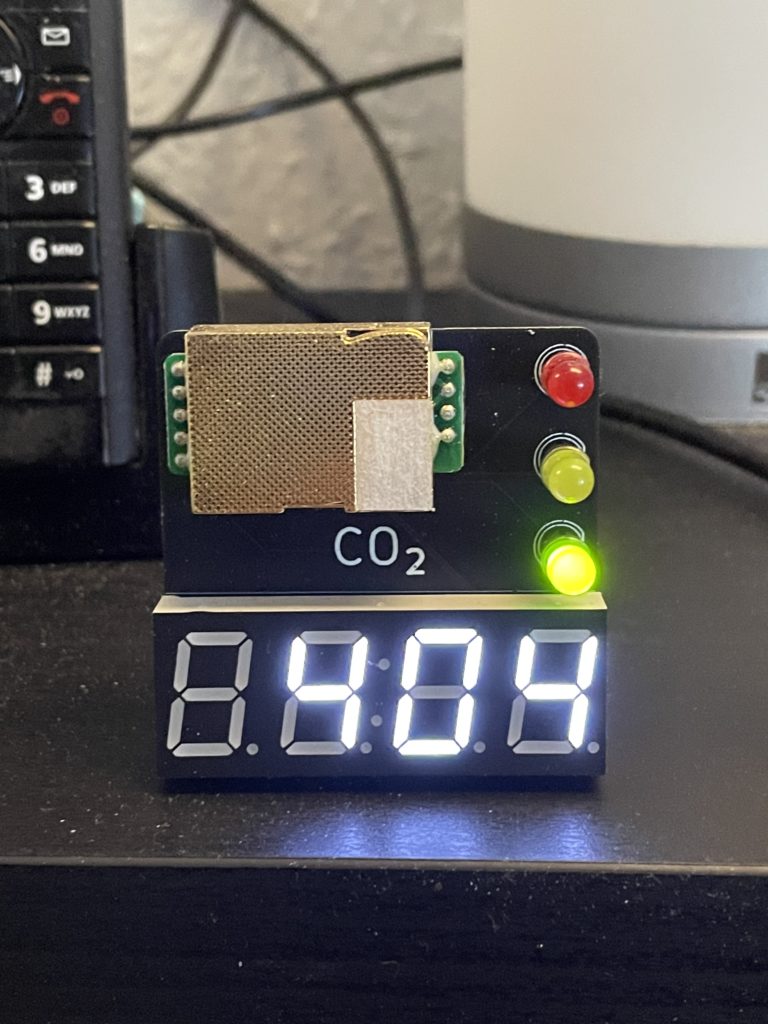
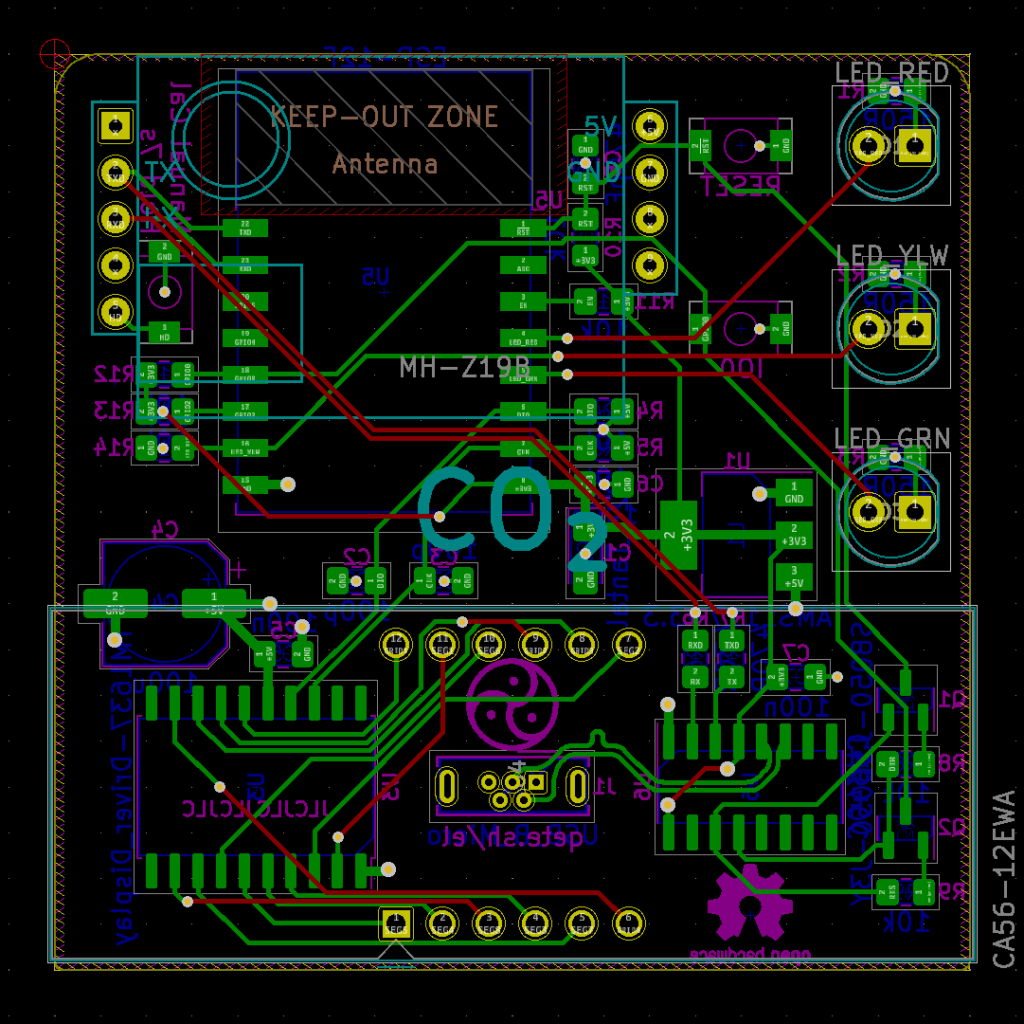
The finished version looked a lot better than the prototype and is now sitting on a shelf in the livingroom. The sensor is not soldered in but uses a friction fit to stay in place since it is a quite expensive component. The board is a 5×5 cm 4-layer pcb which can be ordered for cheap, for example from JLCPCB (not a sponsor) and is easy enough to solder yourself.